 Automation
- How to implement a photo gallery on your Jekyll site
- The Front Matter methodStep 1: Create photo-gallery.html and add an array with image dataStep 2: Loop over the arrayStep 3: Add some CSSStep 4: Adjust the functionalityThe Collection method
For every e-commerce site, the photo galleries which showcase your products are undoubtedly necessary to gain customers’ trust and attention. However, adding a nicely-displayed photo gallery in Jekyll can be such a challenge for beginners and inexperienced people. With the purpose of solving the problem for people who have troubles implementing a photo gallery, this instructional writing on how to show a photo gallery on your site will be a great help for your website.
Depending on how the gallery will be shown, there are two solutions to your problem: using front matter and using collections. Please read these following steps carefully and learn how to show a photo gallery on your site.
Related Posts:
- How to insert a layout, collection and blog to a static site in Shopify
- How to display a featured image on a product page by editing your theme code for non-sectioned themes in Shopify
- How to choose product variants by clicking a variant image in Shopify
How to implement a photo gallery on your Jekyll site
The Front Matter method
This is the most suitable way for you to add the photo gallery on one page.
Step 1: Create
photo-gallery.htmland add an array with image dataThe first thing to do is forming
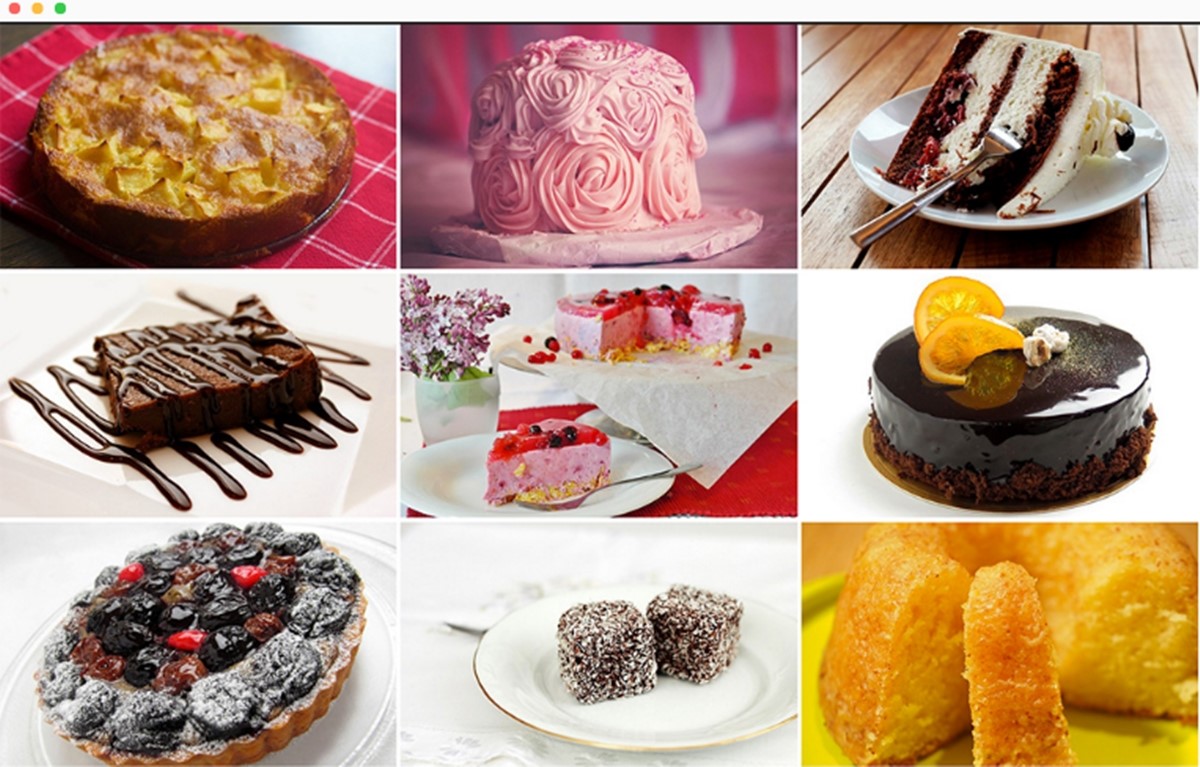
photo-gallery.html. Then, in the front matter, add an array with image data.--- layout: default images: - image_path: /images/cakes/apple-pie.jpg title: Apple Pie - image_path: /images/cakes/birthday-cake.jpg title: Birthday Cake - image_path: /images/cakes/black-forest.jpg title: Black Forest - image_path: /images/cakes/brownie.jpg title: Brownie - image_path: /images/cakes/cheese-cake.jpg title: Cheese Cake - image_path: /images/cakes/chocolate-cake.jpg title: Chocolate Cake - image_path: /images/cakes/fruit-cake.jpg title: Fruit Cake - image_path: /images/cakes/lamington.jpg title: Lamington - image_path: /images/cakes/lemon-cake.jpg title: Lemon Cake ---Step 2: Loop over the array
After getting the data in front matter, in order to output the images in a grid, you need to loop over the array.
...
<ul class="photo-gallery">
  {% for image in page.images %}
    <li><img src="/%7B%7B%20image.image_path%20%7D%7D" alt="{{ image.title}}"/></li>
  {% endfor %}
</ul>
Step 3: Add some CSS
Finally, adding some CSS will make your photo gallery display nicely.
Step 4: Adjust the functionality
If you want to reorder items and extend the structure to adjust the functionality, add a link field to the array.
...
- image_path: /images/cakes/lemon-cake.jpg
  title: Lemon Cake
  link: /lemon-cake.html
...
After that, you need to output the link in an
awhen outputting the images... <ul class="photo-gallery"> {% for image in page.images %} <li> <a href="/%7B%7B%20image.link%20%7D%7D"> <img src="/%7B%7B%20image.image_path%20%7D%7D" alt="{{ image.title}}"/> </a> </li> {% endfor %} </ul>The Collection method
If you want to display the photo gallery on multiple pages or have a lot of metadata for each image then this is the best method for you.
Step 1: Create a
photo_gallerycollectionFirstly, create a
photo_gallerycollection. You need to add metadata for a single image in each document in the collection, for instance,_photo_gallery/lemon-cake.md.--- image_path: /images/cakes/lemon-cake.jpg title: Lemon Cake ---Step 2: Iterate over the
photo_gallerycollectionTo iterate over the
photo_gallerycollection, you can use liquid.... <ul class="photo-gallery"> {% for image in site.photo_gallery %} <li><img src="/%7B%7B%20image.image_path%20%7D%7D" alt="{{ image.title}}"/></li> {% endfor %} </ul>Step 3: Add a
weightvariableWeightis a number that helps you to indicate the photo’s position. Therefore, you can decide the photo order by adding aweightvariable to the front matter of the documents inphoto_gallery.--- image_path: /images/cakes/lemon-cake.jpg title: Lemon Cake weight: 1 ---Step 4: Order the collection documents
Finally, before outputting the photos, you have to order the collection documents by the
weight.... {% assign sorted_photos = site.photo_gallery | sort: "weight" %} <ul class="photo-gallery"> {% for image in sorted_photos %} <li><img src="/%7B%7B%20image.image_path%20%7D%7D" alt="{{ image.title}}"/></li> {% endfor %} </ul>Conclusion
With this detailed tutorial on how to show a photo gallery on your site, we certainly ensure that you can manipulate those above steps and make your job easier. If you want to display a photo gallery using a JavaScript photo gallery, you can apply the same techniques. For lightSlider, it expects the elements in a simple
<ul>structure in the HTML. I hope this article has been helpful to you, you can check out our other articles on catalog if you want to learn more about this topic.See more: Top Shopify Gallery Apps To Improve Store’s Visual
 Sam Nguyen is the CEO and founder of Avada Commerce, an e-commerce solution provider headquartered in Singapore. He is an expert on the Shopify e-commerce platform for online stores and retail point-of-sale systems. Sam loves talking about e-commerce and he aims to help over a million online businesses grow and thrive.


Related Post
-
Table of Contents
